


SUGGESTED SEARCHES
SUGGESTED SEARCHES
1. Navigate to https://aemauthor.fonterra.com/sites.html/content/nutiani/content/nz/en/wellbeing-areas
2. Nutiani > Content > New Zealand > Nutiani > Wellbeing Areas > Click the template.
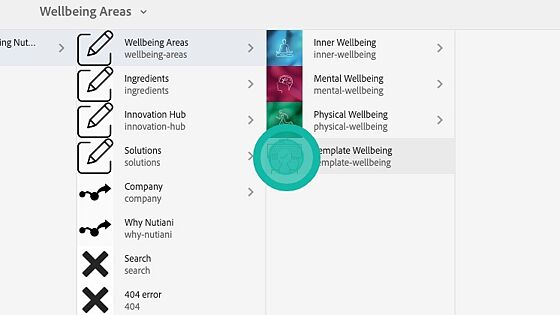
3. Click "Copy" (You need to tick the page you wish to copy, otherwise the menu will not display)

4. Click "Paste"
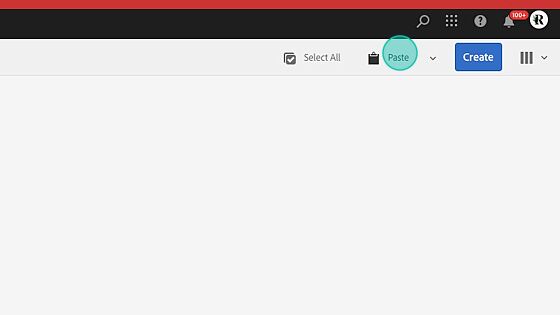
5. Now you have a copy (you will see the number on the end) you can paste it under the parent page you need it to sit under.

6. Click "Move(m)"

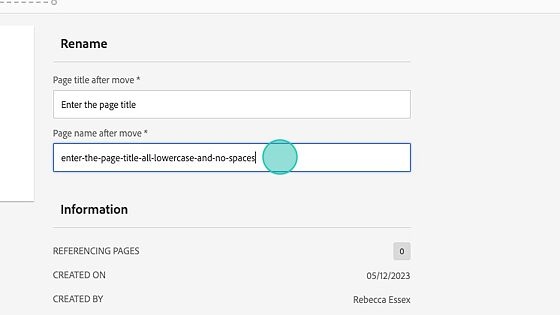
7. Click the "Page title after move *" field and enter the page title.

8. Click the "Page name after move *" field. This needs to be all lowercase and no spaces or special characters.
9. Click "Next"

10. Click the parent page you want your page to sit under.

11. Tick the parent page.

12. Click "Move"

13. Click "Continue"

14. Click "Okay"

15. Now tick your new page to select it.

16. When a page is ticked the top menu will display. Click edit.

17. Click "properties"

18. Click "Open Properties"

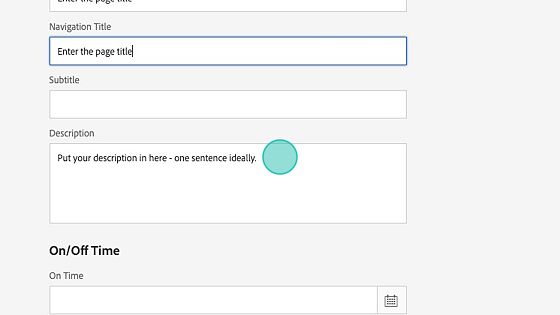
19. Click the "Title *" and enter in your page title again.

20. Then copy and paste it into the PAGE TITLE and the NAVIGATION TITLE fields (note the Nav Title will display on your menu so ensure it is short and to the point so the manu can handle it)

21. Click the "Description" field and enter a sentence outlining the page description. This will list on the website in a page listing and also in Google search.
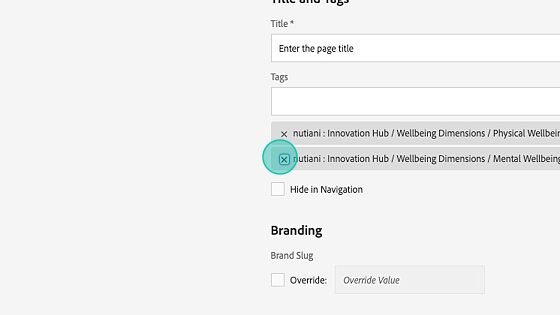
22. This is the page tag. Delete the tags that are not appropirate for your page.

23. Click "close"
24. Click "Page Settings"

25. Click "calendar"

26. Select a date, this displays on your page and also is how the pages are listed - by date created so the latest is always at the top.

27. Click the "Teaser image" field. Paste in the URL of your image, this will display in the dashboard and on the page listing tiles.

28. Click "Save & Close"

29. Click here.

30. Click "edit"

31. Select all and enter your page title.

32. Click outside the component to save.

33. Click on the banner area and click "configure"

Tip: Tip! The Banner image needs to be: 1920px by 1080px and under 300kb.
34. Click this field and paste in the URL of your banner image.

35. Click "check" to save.

36. Now you can start adding your content. Copy and paste your title into the first component by clicking to get the blue outline.

37. Click edit and paste your title in.

38. Click outside of the component to save.

39. Repeat this process for your body copy.

40. Click "edit"

41. Click here.

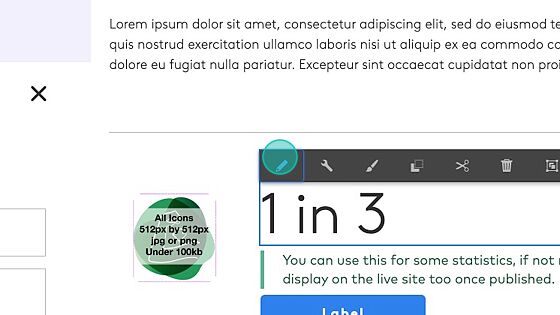
42. If you have a stat or call out you can use this component. If you do not require it, click on it and select the delete rubbish bin to remove.

43. Click this button.
44. Click the title and enter yours.

45. Click "You can use this for some statistics..." and paste in your copy.

46. Click the toggle icon, now select the image you have already uploaded and drag and drop it into the component.

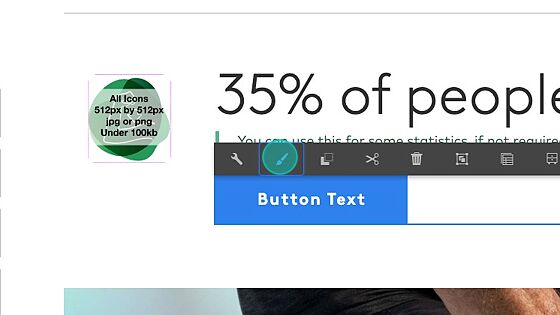
47. Click the CTA Button component if you wish to add a link to this (if you do nothing to the CTA Button, it will not display once published)

48. Click "Configure"

49. Enter in the button text and where you want the button to link to.

50. Click "check"

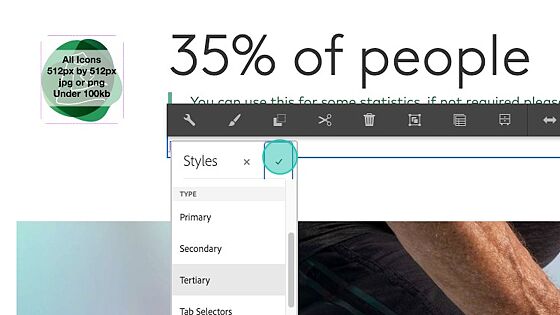
51. Click on the CTA Button again to add the styles.

52. Click "styles"
53. Click the size you want (remember to be consistent with other pages)

54. Click the style you want (remember to be consistent with other pages)

55. Click "check" to save.
56. If you have an image you can add it in. Click on the component.

57. Click "configure"

58. Click "Metadata"

59. Enter your image caption here if you require one. If you don't then just remove the copy.

60. Click "check" to save.

61. Click on the toggle icon.

62. Click on the image you want to use and drag and drop it into the Image Component (The component will turn blue, then release)

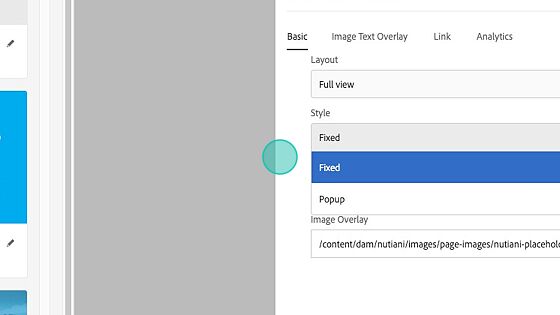
63. To add a video, click on the component to get the blue outline.

64. Click "configure"

65. Select the style you want. "Fixed" it will play the video within the page. "Popup" will play the video in a pop-up modal. See notes below.
Tip: Example: Video set to "Style: Fixed"

Tip: Example: Video set to "Style: Popup"

66. Paste in the full Youtube or Vimeo hosted video link.

67. If you wish to control the image for the video, then you can add the URL in "Image Overlay" - see examples below.
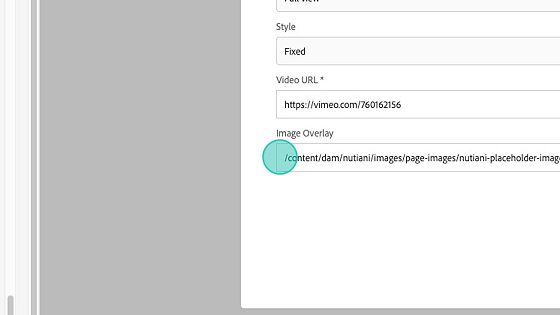
Tip: Example: Video with no Image Overlay:

Tip: Example: Video with an Image Overlay added:

68. Click "Image Text Overlay" and enter the video title and the play time.

69. Tick to save.

70. You can use this component to link to "Related Products" or articles. If you do not require this then just delete it.

71. Click "edit" and enter your title.

72. You can click and add in a description, or you can click the "configure" icon on the component and tick "Hide Description"

73. Then to set your requirements, click on the full "Related Articles" component to get the blue outline, click "edit" icon. You can set your list to display in one of three ways, examples below.

Tip: Example Tags: You enter the parent page URL and then select the child pages under it by telling it to get all pages under Solutions > Wellbeing > Physical Wellbeing > tagged with "Mobility". You can have numerous tags, just add by clicking the tick and navigating to the Nutiani tags to select. Keep "any tag" selected to list any page with one of these tags. Select "All tags" to list any page with ALL of the tags you specified.

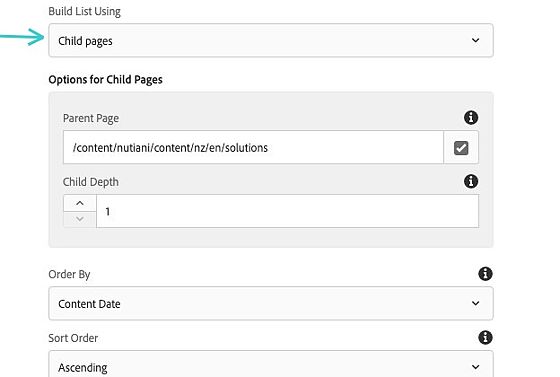
Tip: Example Child Pages: Select the URL of the parent page, then your list will display ALL the child pages under that parent page.
Tip: Example Fixed List: this is where you can select the URL for the exact pages you are after, they may be in different areas of the site but you can still link to them by adding in more options as per below.

74. To add your References, click on the component, click "edit" icon and paste in your references.
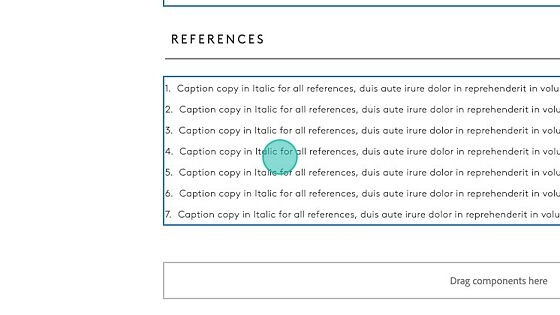
75. Once you have all the copy in place, select it all and click the "S" styles icon, click "Caption" and click "Text-size: Small". Click outside of this area to save.

76. You need to set the pages you want to pull into this component, these can be selected by TAG, CHILD PAGES, or FIXED LIST as per the Related Articles for the products you did further up in this tutorial.

77. The default setting is listing all pages under "Wellbeing Areas" that are tagged with either "Physical Wellbeing" or "Inner Wellbeing" or "Mental Wellbeing" you can delete the tag you do not wish to display.

78. Now you have finished your page you need to "View as Published" to test and check your work. Click on "Page Properties"

79. Click "View as Published" and now view and test your page.

STAY AHEAD


All rights reserved © Nutiani {year}